Printing custom stickers: a behind the scenes look
Ever wondered how your Stickers are created? Here’s a window into our factory process.
-
 The MOO Team
Share the post
At MOO, we take immense pride in crafting premium personalized products. And as self-proclaimed print enthusiasts, we wanted to take you behind the scenes of one of our favorite marketing materials – custom Stickers.
Ever wondered what goes into creating a Sticker? In this article, we’ll give you a sneak peek at how we bring your masterpieces to life at MOO.
Designing custom stickers
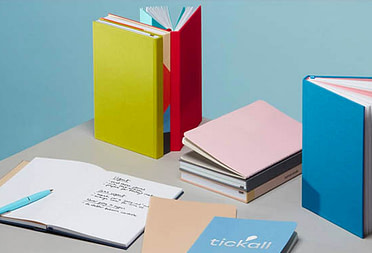
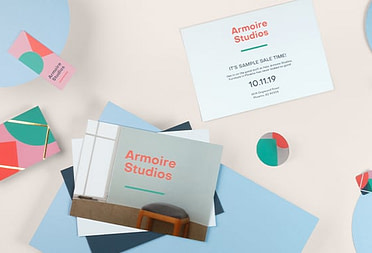
Our Sticker printing process begins like all MOO products – with a great design. Luckily we have an easy online editing tool to help you craft something with standout. Whether you’re creating custom Stickers for pricing, packaging or promotions, we have a variety of ready-made templates (or you can upload your own design). From our classic round and rectangular Stickers, to our mini Sticker books and address labels… you name it, there’s a Sticker for it.
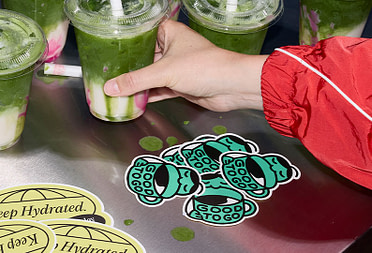
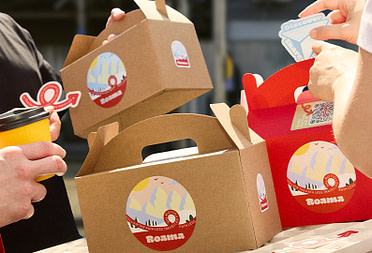
Looking for some design inspiration? Check out how some of our customers are using Stickers right here.

The printing process
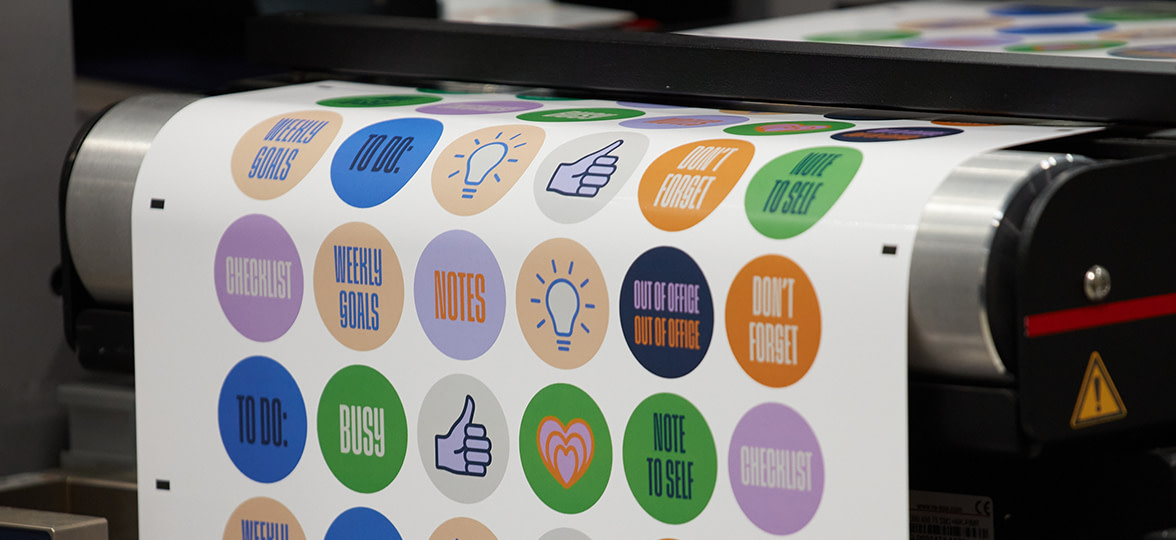
Great design? Check. Now, it’s time to get printing. Once you’ve placed your order with us, the fun can really begin. At MOO, we use a state-of-the-art printing press that produces high-quality, vivid colors (to make sure your product really packs a punch). Our Stickers are also made with thick, tough vinyl – which makes them waterproof, tear-proof and ready for the rough and tumble of a delivery truck or post bag.
Kiss-cut to perfection
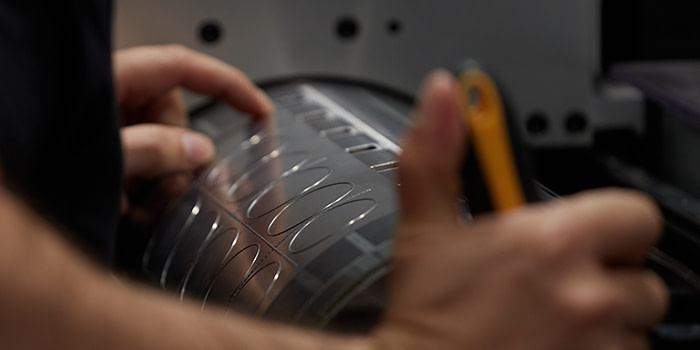
The printing process itself is super quick, with print runs starting from as little as 50 Stickers. After printing, Stickers are moved onto our large cutting machine. This machine uses a computer-controlled laser system, which produces and detects a die to cut each Sticker precisely. This leaves a super-clean (and super-satisfying) peelable edge. This process is called ‘kiss-cutting’ – which involves a very light impression that cuts through the top layer of the Sticker sheet without cutting the backing material. Clever right?
Our cutting process is usually done in batches, with multiple orders being processed at the same time to save time and produce less waste.
The process itself is unbelievably satisfying to watch – an ASMR-lovers dream.
Once the cutting is complete, your Stickers are carefully packaged to make sure they land on your doorstep in perfect condition!
Custom stickers for planning
Stickers aren’t just a marketing tool. They can also be used as a tool for planning. For example, you can use different colored Stickers to categorize tasks or appointments. You can also use them to highlight important dates, such as birthdays or deadlines. How, you ask? By printing a different design on every Sticker with our Printfinity service. This lets you choose up to 50 designs, so you can create multiple Sticker designs in just one order.
Our MOO Perpetual Planner is the perfect tool for using Stickers in this way. With a variety of customizable stickers and layouts, you can create visual to-do lists to help you (and your team) stay on top of things.

However you choose to use Stickers for your business, we hope this behind the scenes look at how they’re made has given you a bigger appreciation of their sticky greatness.
Create your own today!
Keep in touch
Get design inspiration, business tips and special offers straight to your inbox with our MOOsletter, out every two weeks.
Share the post
Keep in touch
Get design inspiration, business tips and special offers straight to your inbox with our MOOsletter, out every two weeks.