Your guide to creating loyalty cards
Here’s our guide on how to create loyalty cards from our Business Cards.
-
 The MOO Team
Share the post

Loyalty cards are a great way to reward your regulars and give them another reason to love your brand. There’s nothing better than having customers who keep coming back and stamp cards are a great way to encourage them.
Our Business Cards can be anything you want them to be. Including loyalty cards. They can be as unique as your brand, reflect your identity and offer incentives to your clients. To help you create some that are suitable for your brand, we’ve come up with a guide that lays out the concept, dimensions and how to stand out.

Step 1: The concept
Before you start creating your loyalty cards, think about what you want to achieve with your design. Consider your brand identity and what message you want to convey to your customers. Whether it’s a focus on offering a free service and getting customers to try something different, or the quality of your products and incentivizing multiple purchases to receive a free gift.
Think about what kind of incentives you’ll offer and how you can use design to communicate their value in a concise and effective way.
If you’re a beauty salon, will there be a number of visits that need to be reached before a free service is given? And which service are you trying to promote? Or do you have a bookstore or coffee shop – and do you aim to offer a free product or discount? Think about how much your customers need to do, how it can be cost-effective for you, but still motivates people to come back.

Step 2: Dimensions
Loyalty cards come in many different shapes and sizes, so it’s important to choose the right one for your needs.
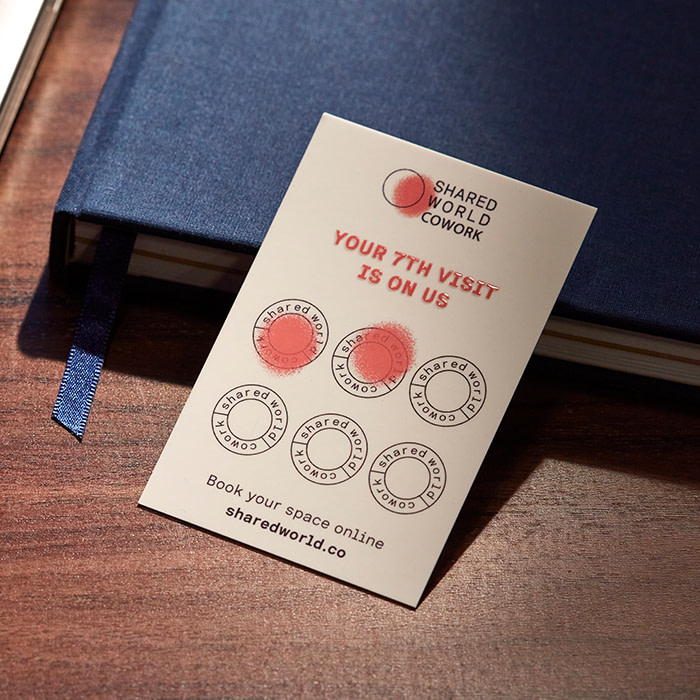
On one side – think about the size of your logo and any other design elements you want to include, as well as the amount of information you need to communicate to your customers. The most important thing is what the offer actually is. How many times they’ll need to visit or purchase something will be conveyed with the spaces for stamps.
The most popular dimensions are the standard 2″ x 3.5″ card and the MOO card size of 2.16″ x 3.3″. But there’s nothing stopping you from trying out different looks. You could also go Square – 2.56″ x 2.56″. Alternatively, if your customers only need to make a few visits, you could opt for an even smaller one. The MiniCard, with dimensions of 2.75″ x 1.10″, could urge customers to act quickly since the reward will seem easy to get.

Step 3: Create a design that stands out
Your loyalty cards should be visually appealing and eye-catching, so use colour, typography, and imagery to create a design that really pops. What about current design trends? You could incorporate them into your design if they align with your brand. This could be anything from a gradient background, a vintage aesthetic or a monochrome look. If you’re a brand that’s eco-conscious, you could go for Cotton Business Cards, too.
You could also add special finishes like Gold or Silver Foil or Raised Spot Gloss. But, first, an important thing to consider is whether you’re using stamps or hole punches on your cards. With glossier finishes, a stamp may smudge. So it’s best to go for a matte finish if that’s your plan.
Ultimately, you need to keep your loyalty cards simple, branded and easy to read. You’ll have two sides, so one with enough information about the program and the other side for your brand.
Step 4: Add your branding and message
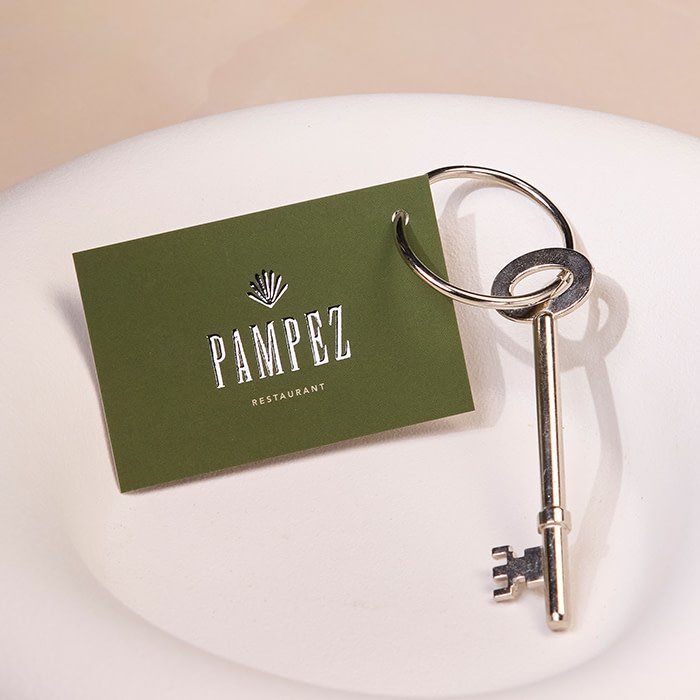
The most prominent feature to include (in regard to branding) is your logo and brand name. In order for customers to recognize your brand, it’s important to use consistent branding elements including fonts, colours and imagery to reinforce your identity. This can all appear on the one side.
In a font that matches your brand – whether that be consistent with the website or social platforms, you could add (alongside your logo) contact details, an address, a website, any T&Cs or an expiration date.
And then on the other side, clearly communicate the benefits of your loyalty program on your card, including how customers can earn rewards and what those rewards are. Anywhere between four and ten spaces should be made to stamp or punch a hole through the card. And if you’re hole-punching, be mindful of what the other side might look like once the card starts to fill up!
Alternatively, if you want to keep things even more simple, feature a QR code to link to your website, for booking services or referrals.
Step 5: Choose where to distribute your cards
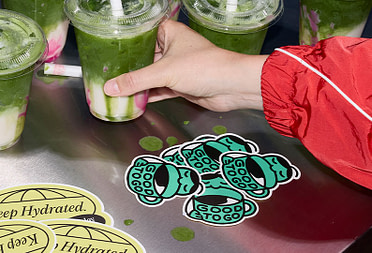
Your last step is to consider where to display them. Whether that be in-store, at events, as part of a goodie bag or through direct mail campaigns. The most popular place to have them is at the store counter so that they can be handed over with your customer’s first purchase and stamp.
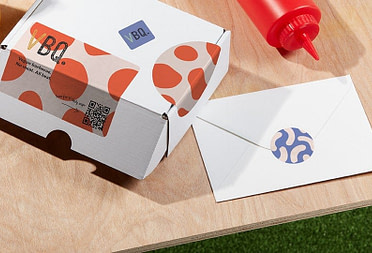
To keep them looking sharp and show them off at the same time – use our Display Boxes designed to perfectly fit them.
Ready to connect with and reward your customers? Discover loyalty cards today.
Keep in touch
Get design inspiration, business tips and special offers straight to your inbox with our MOOsletter, out every two weeks.
Share the post
Keep in touch
Get design inspiration, business tips and special offers straight to your inbox with our MOOsletter, out every two weeks.